Samstag, 29. März 2014

* Inspiration *

3 Kommentare
Mögt ihr auch Letterpress so gerne? Das sieht so toll aus, diese eingeprägten Muster und Schriften.
Man muss aber nicht unbedingt in teures Equipment investieren, um diesen Trend mal auszuprobieren.
Das geht wunderbar mit Stempelkissen, Embossing Foldern und einer Prägemaschine wie der Big Shot.
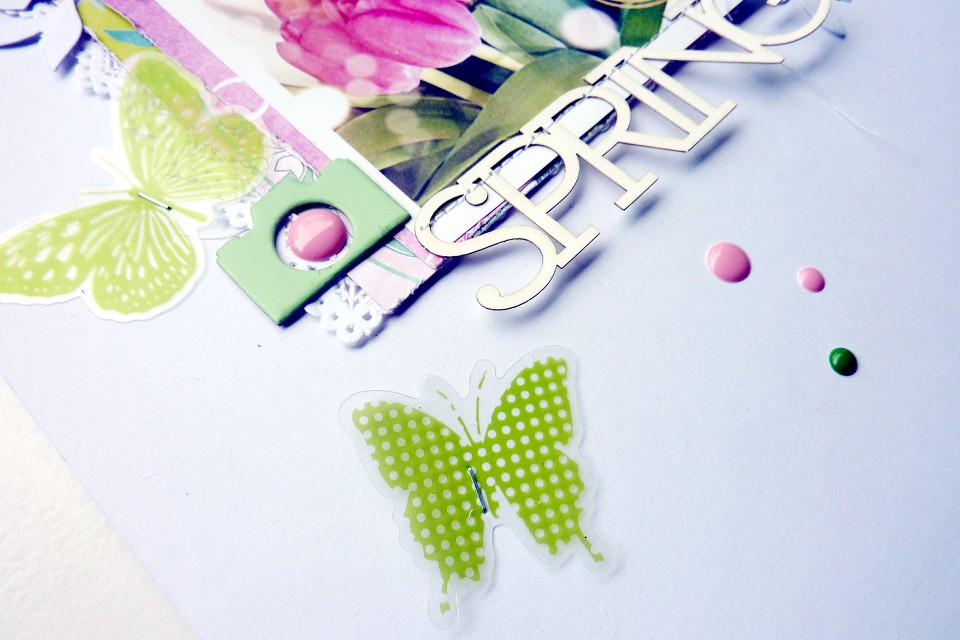
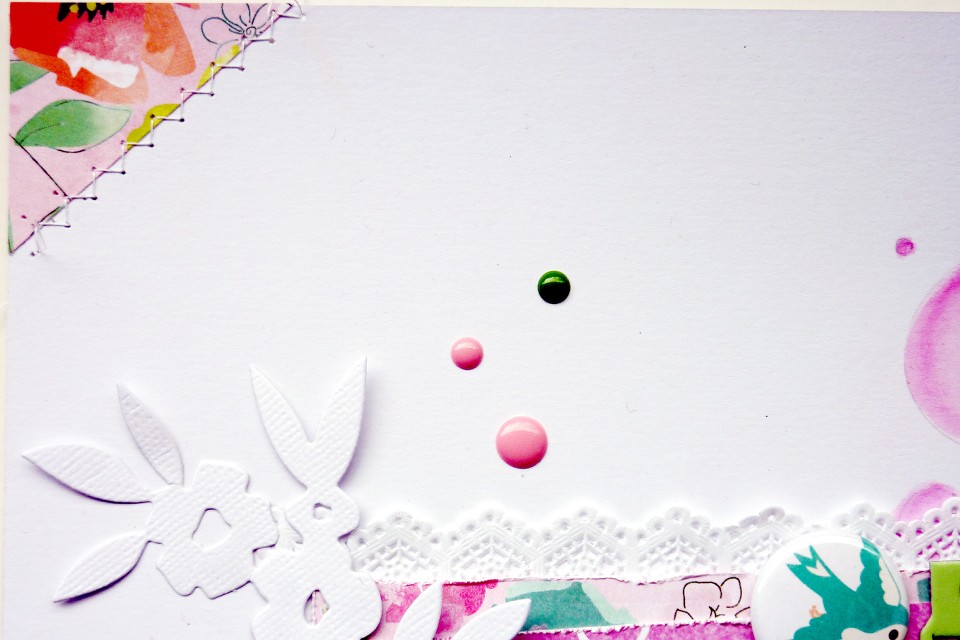
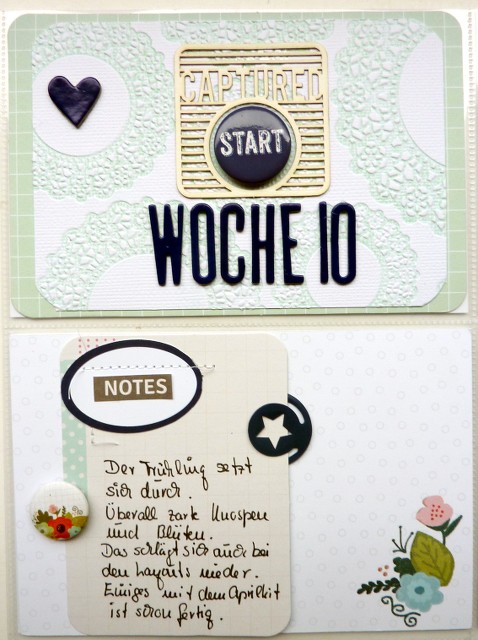
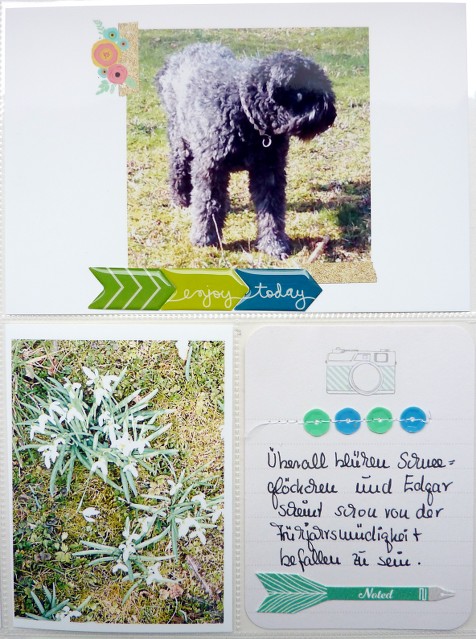
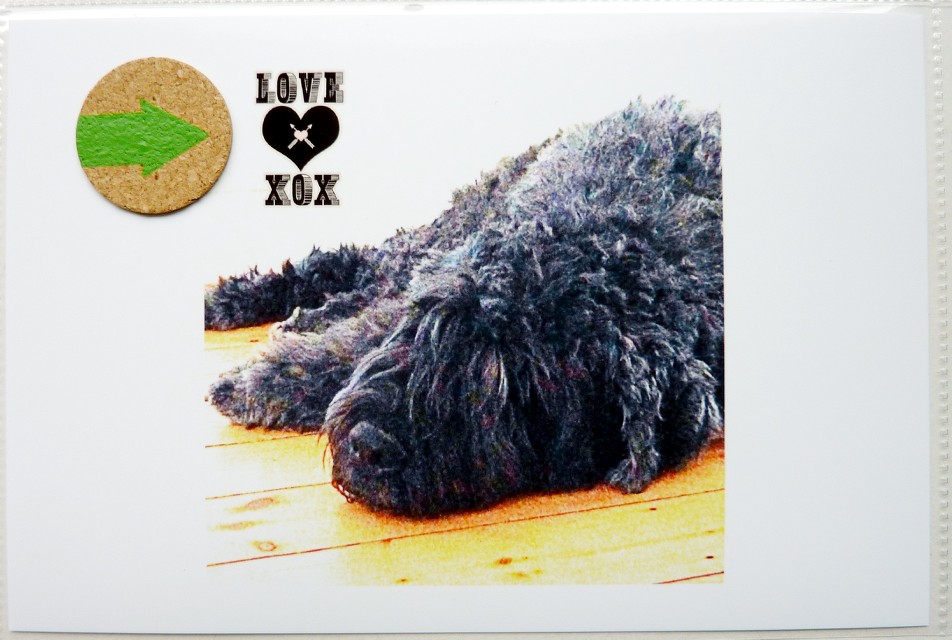
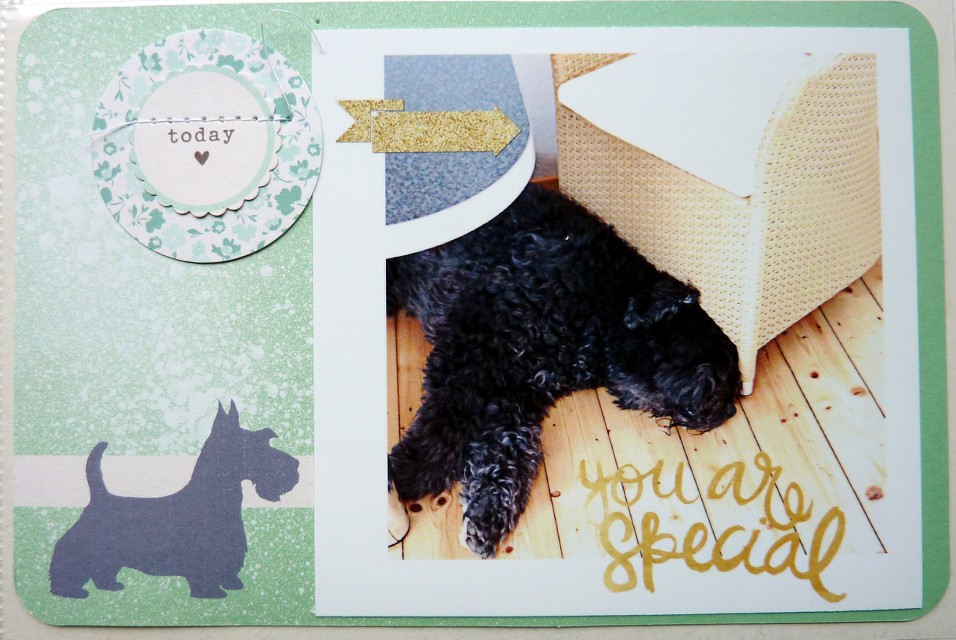
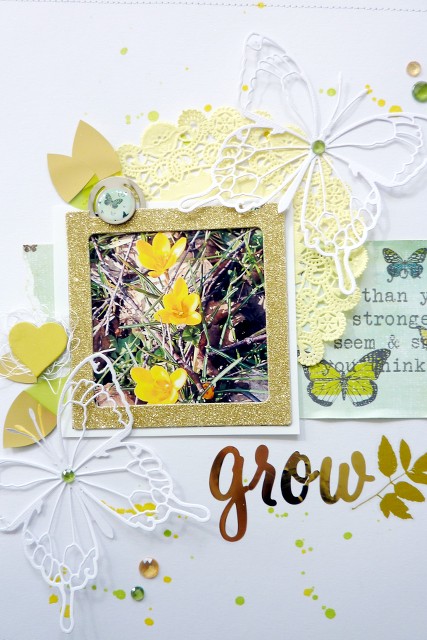
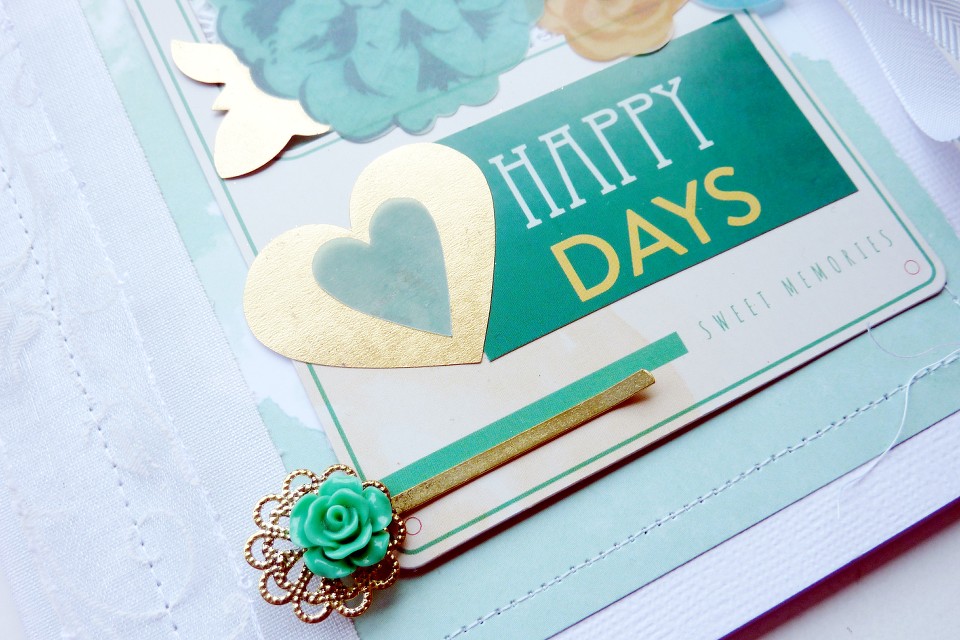
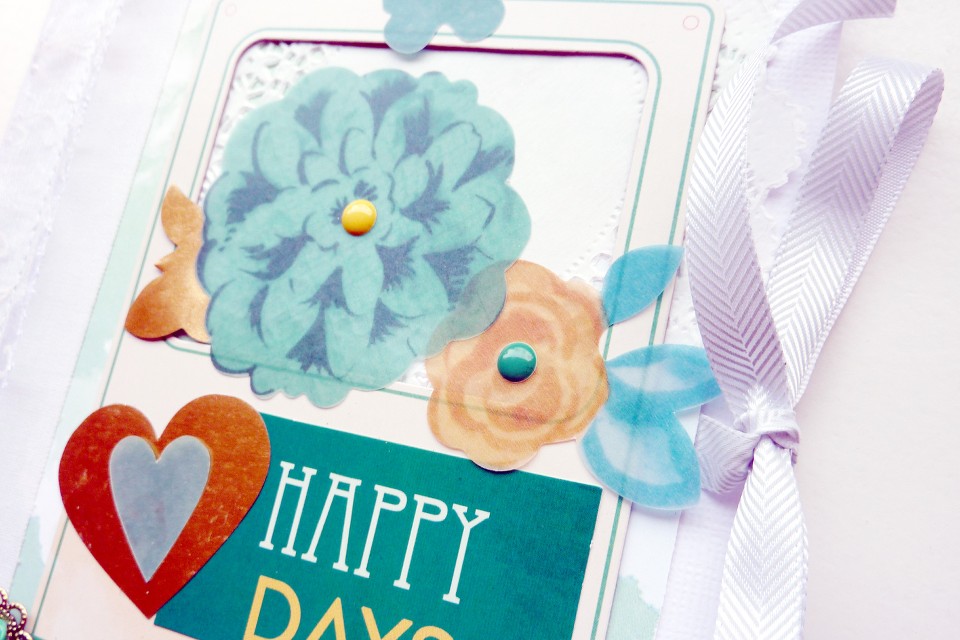
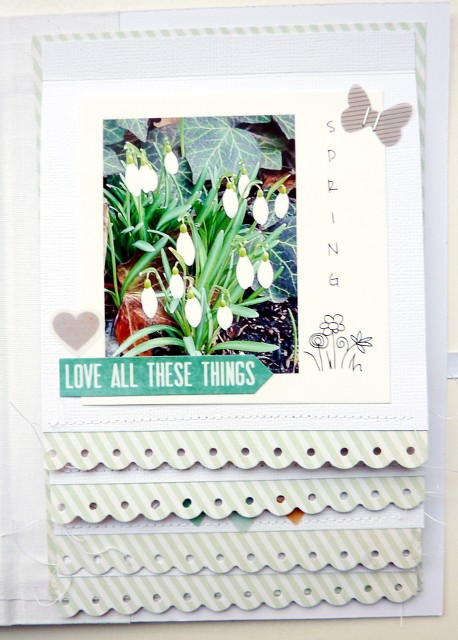
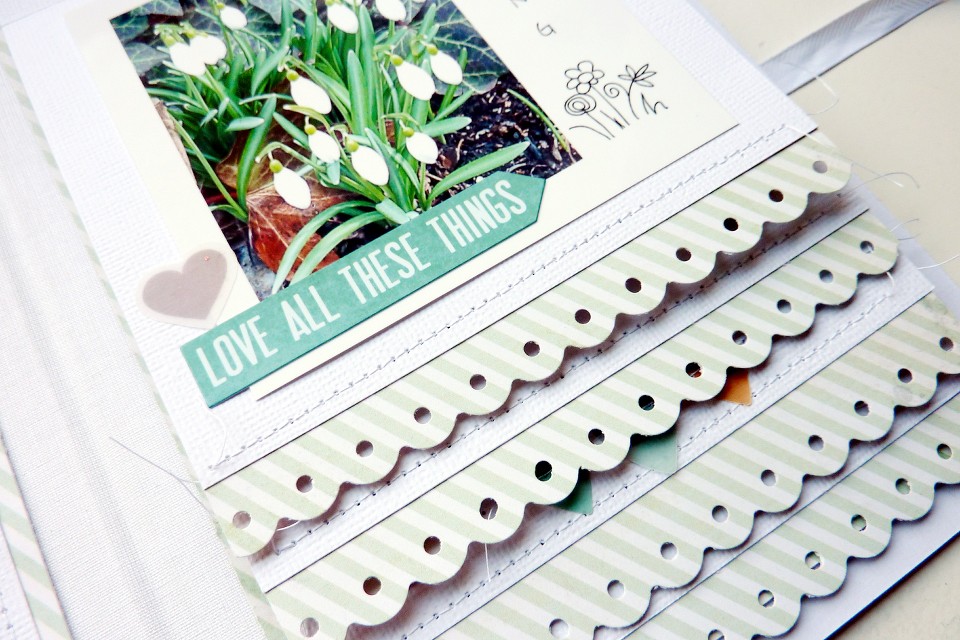
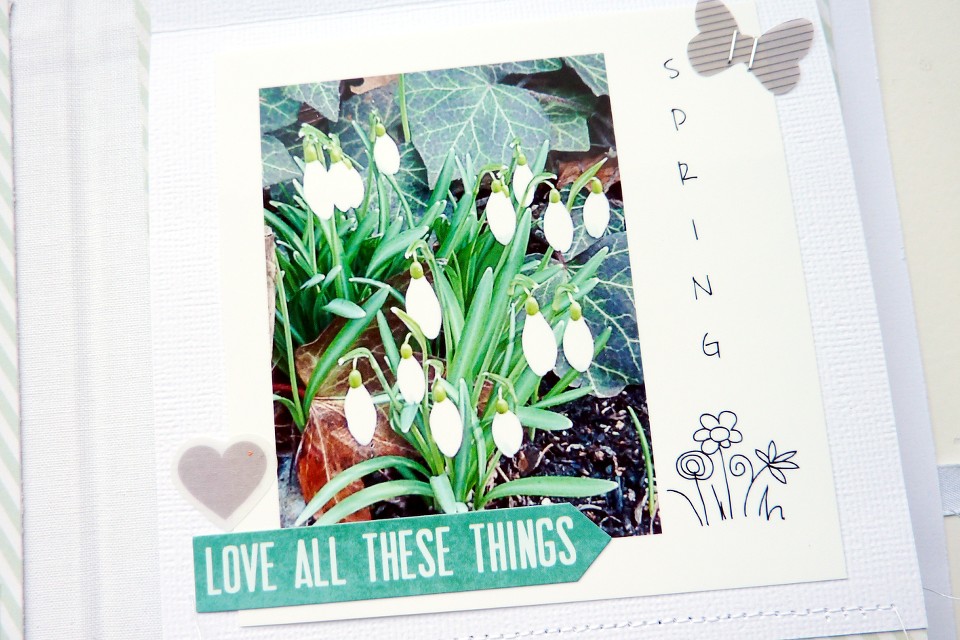
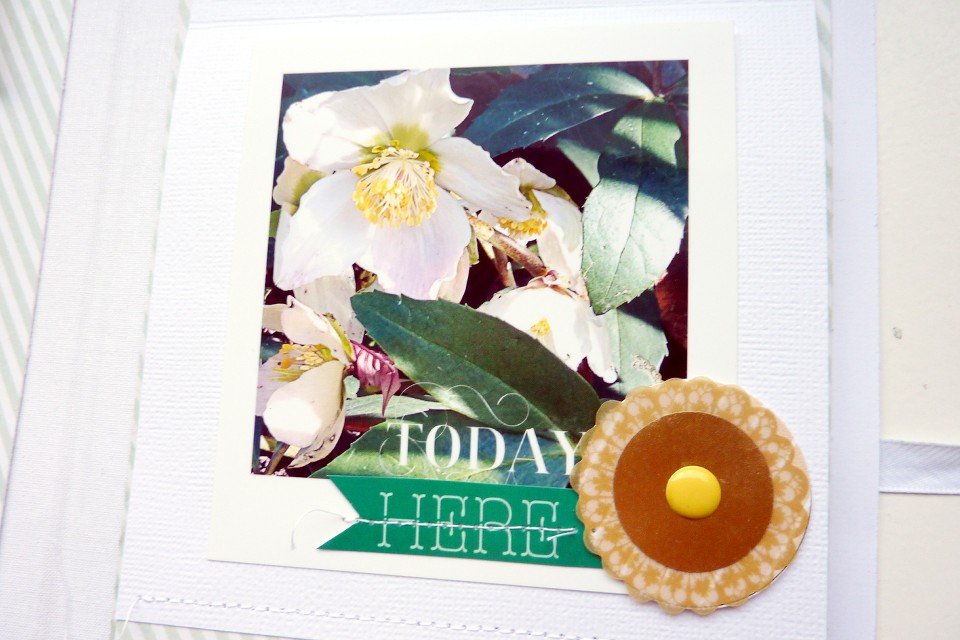
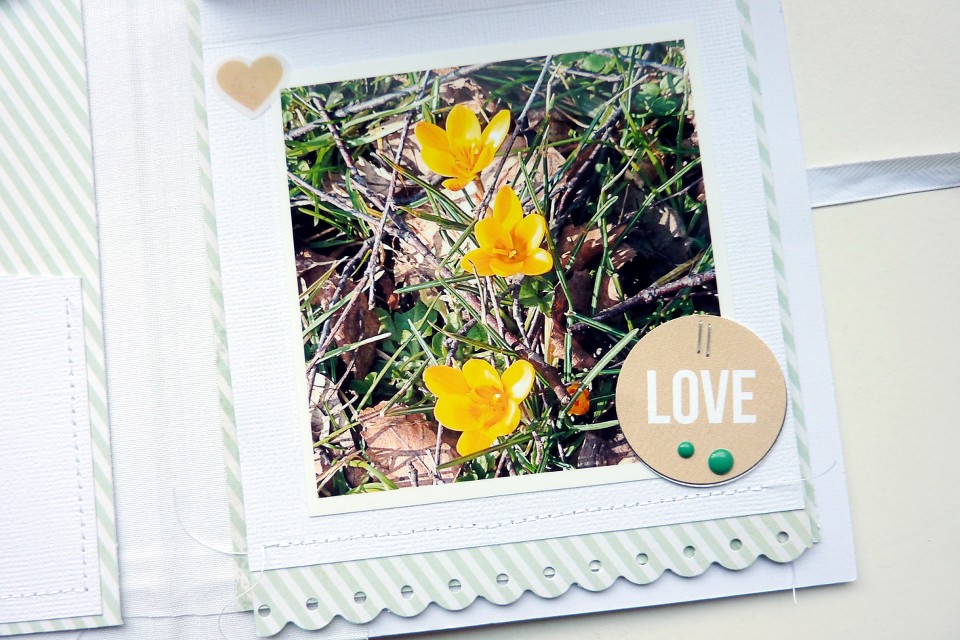
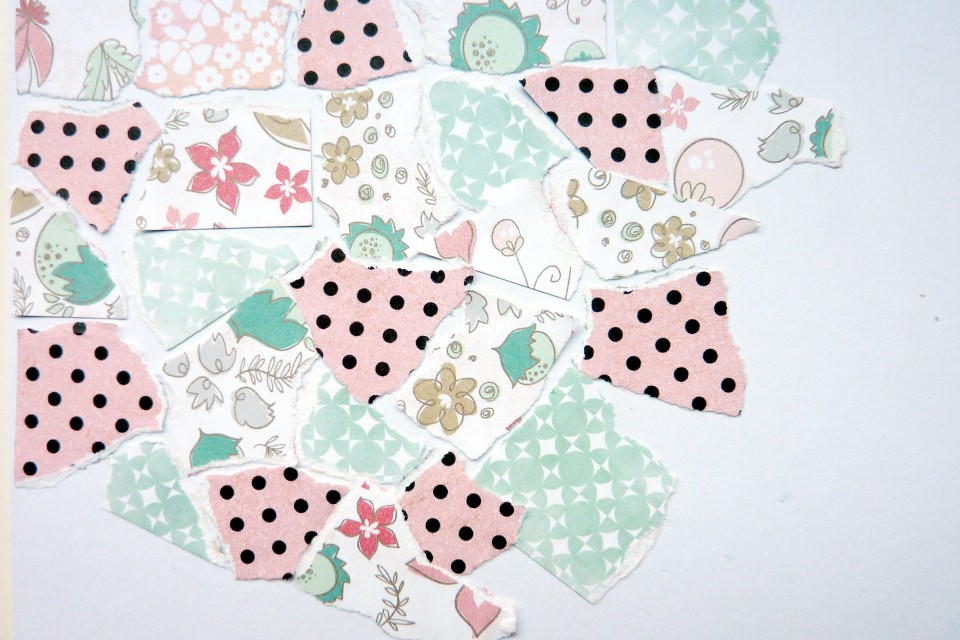
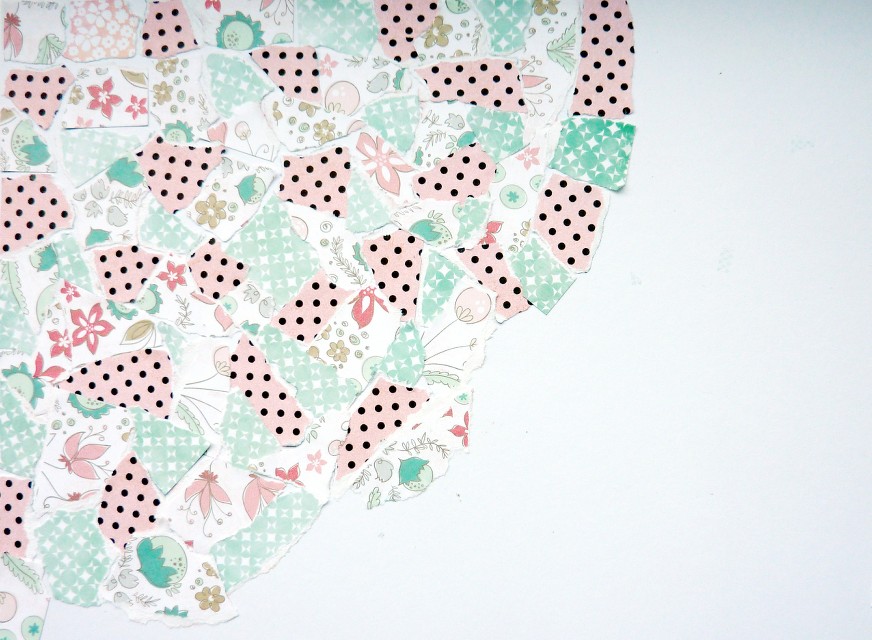
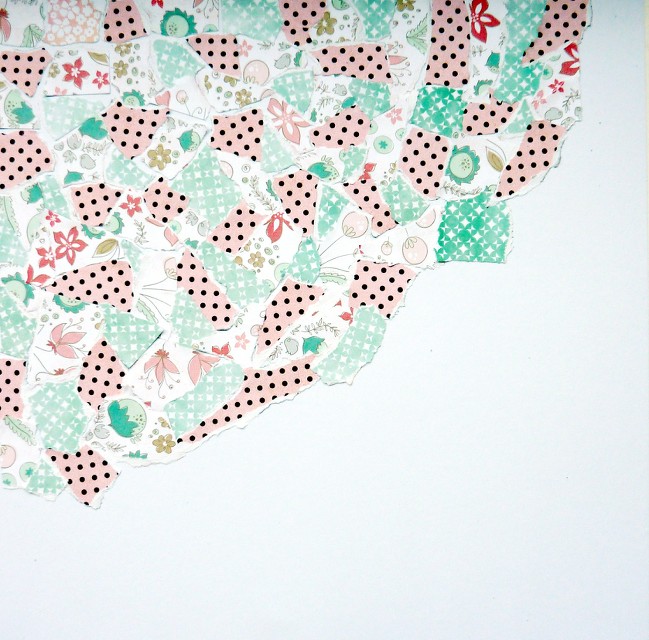
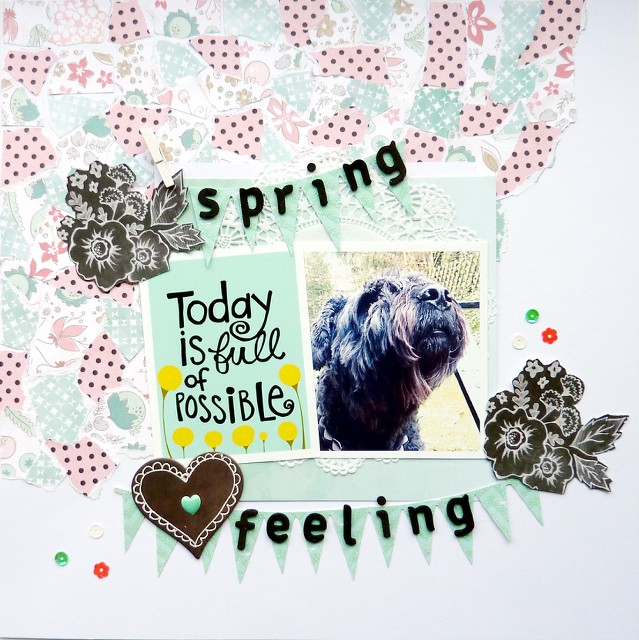
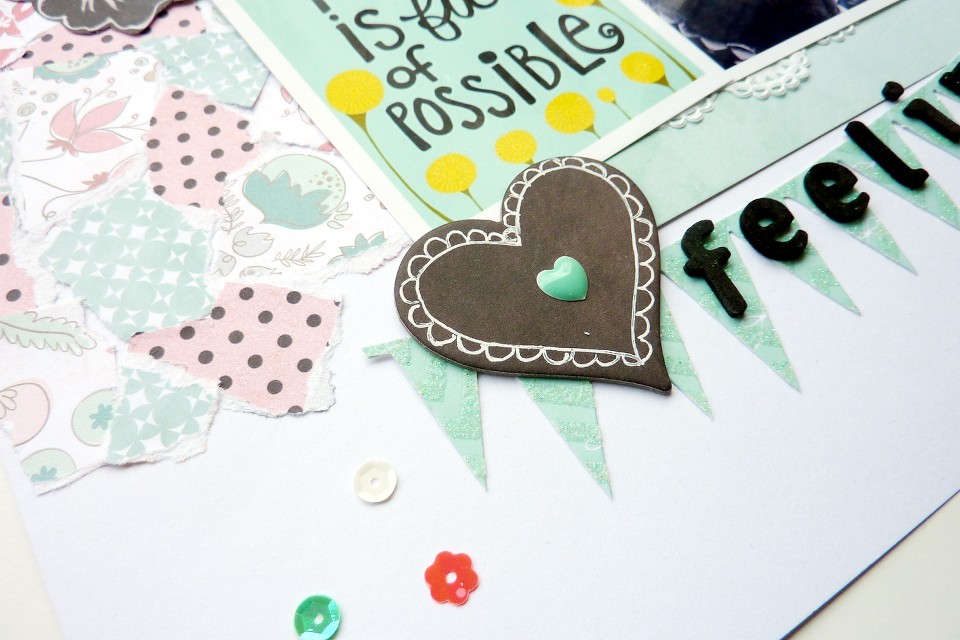
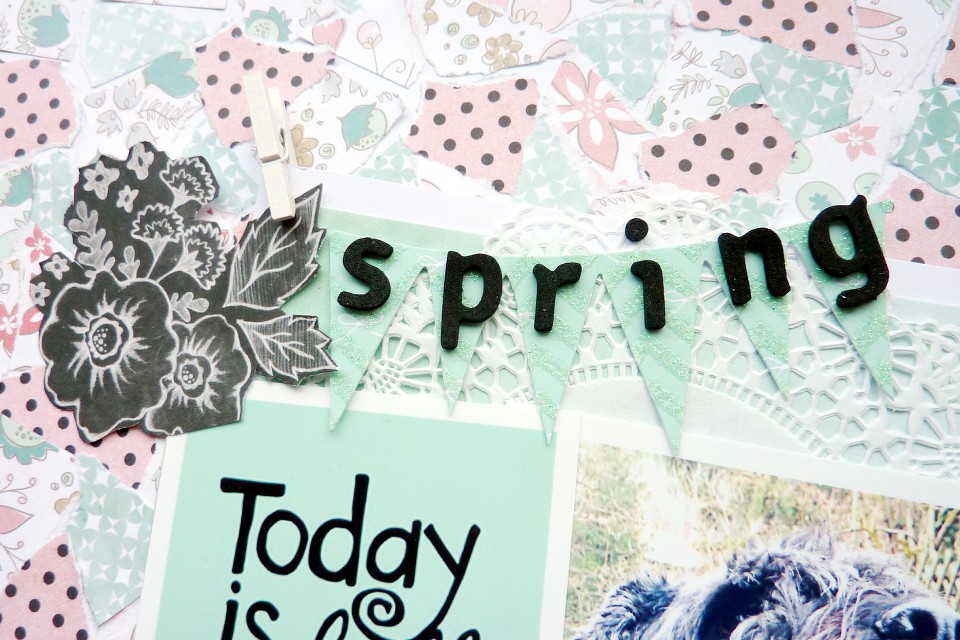
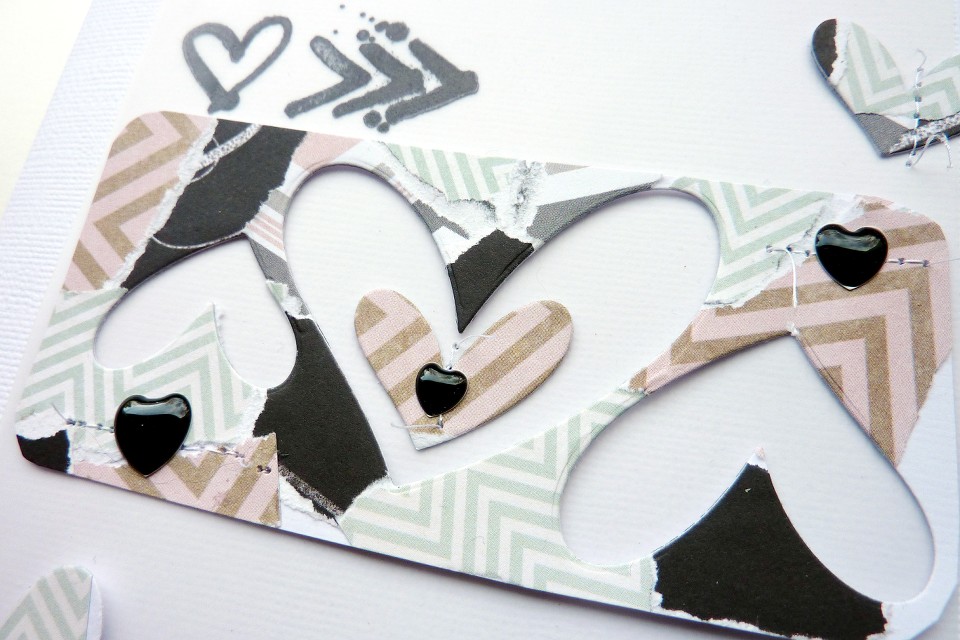
Die Papiere habe ich dann für Karten, für mein Project Life und auf dem Layout verwendet, das ich heute zeigen möchte.
Ich habe eine Schritt für Schritt Anleitung mit Fotos gemacht, die ihr hier findet.

Do you like Letterpress? I love it.
And it's not necessary to buy lots of expensive supplies to try this technique.
You just need ink pads, embossing folder and a Die Cut Machine like the Big Shot.
I used the papers on cards, for my Project Life album and on the layout which I want to show ou today.
I also made a step by step tutorial with pictures which you can find here.


Das Foto zeigt mein Scrapzimmer und das geprägte Papier im Hintergrund erinnert ein bisschen an eine Strukturtapete.

The picture shows my scrap studio and the paper in the background looks a bit like a wallpaper.


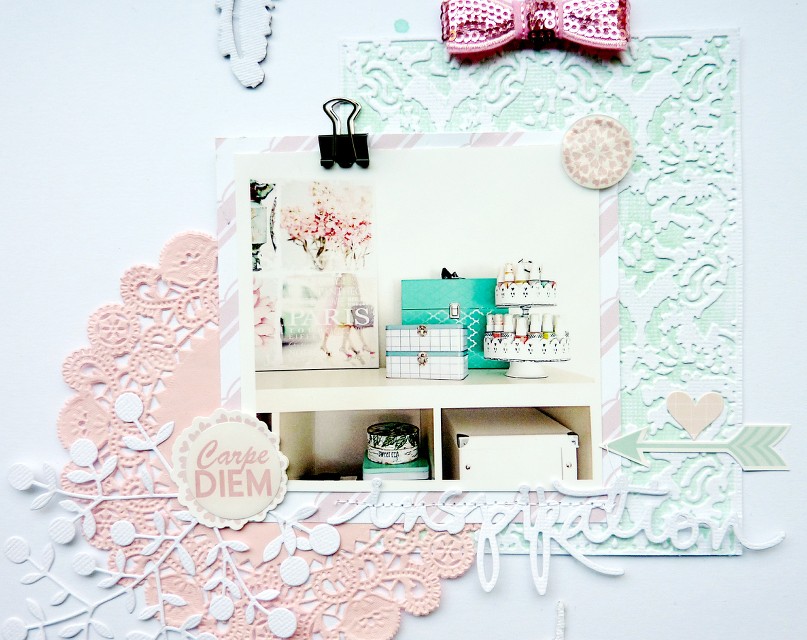
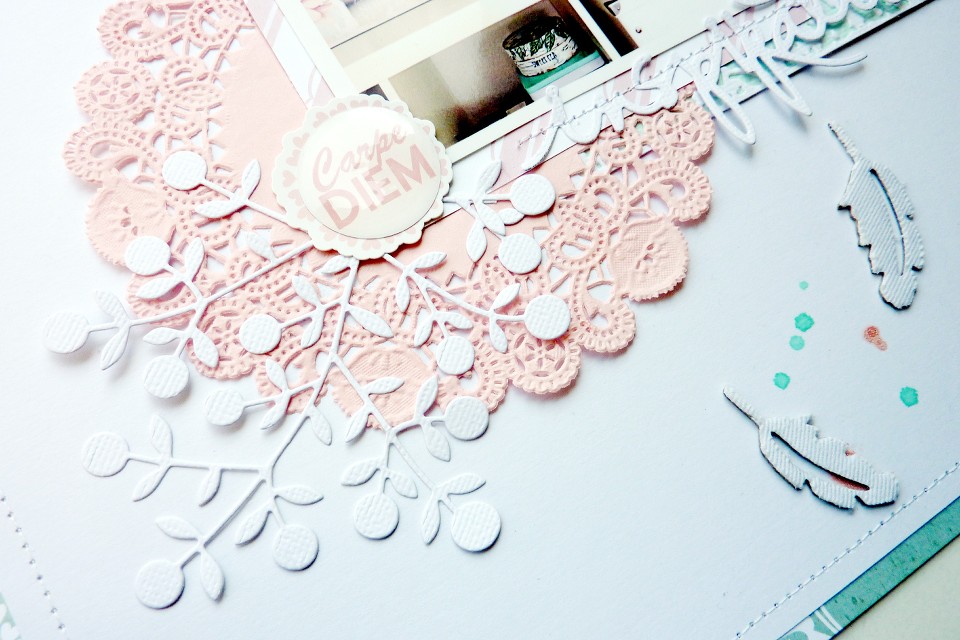
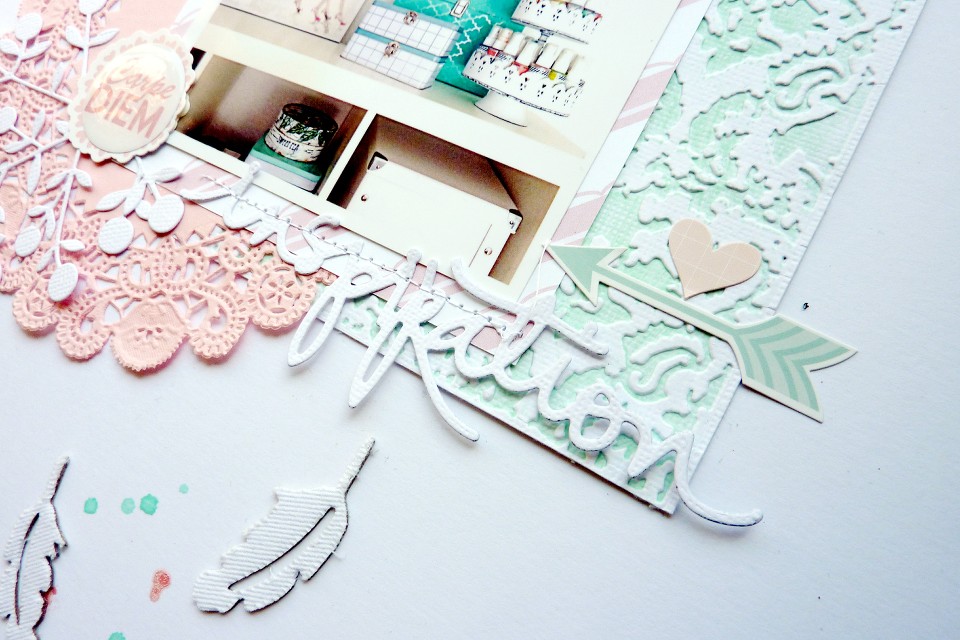
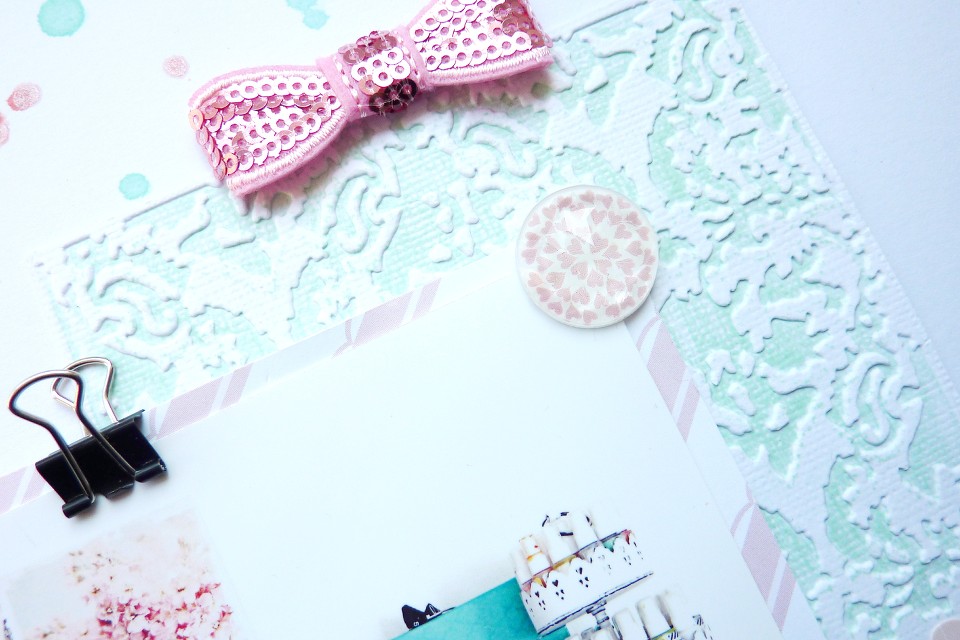
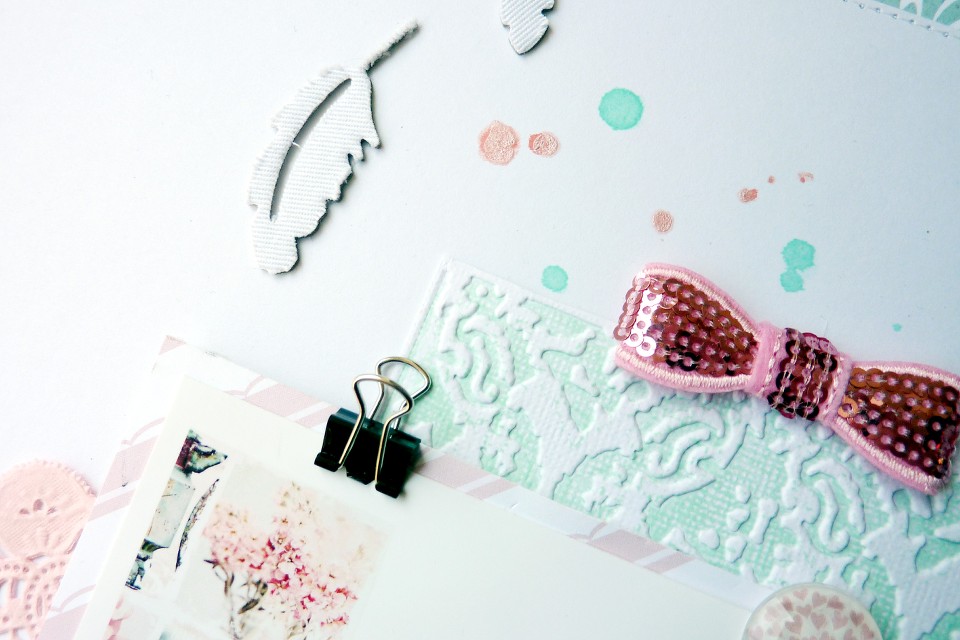
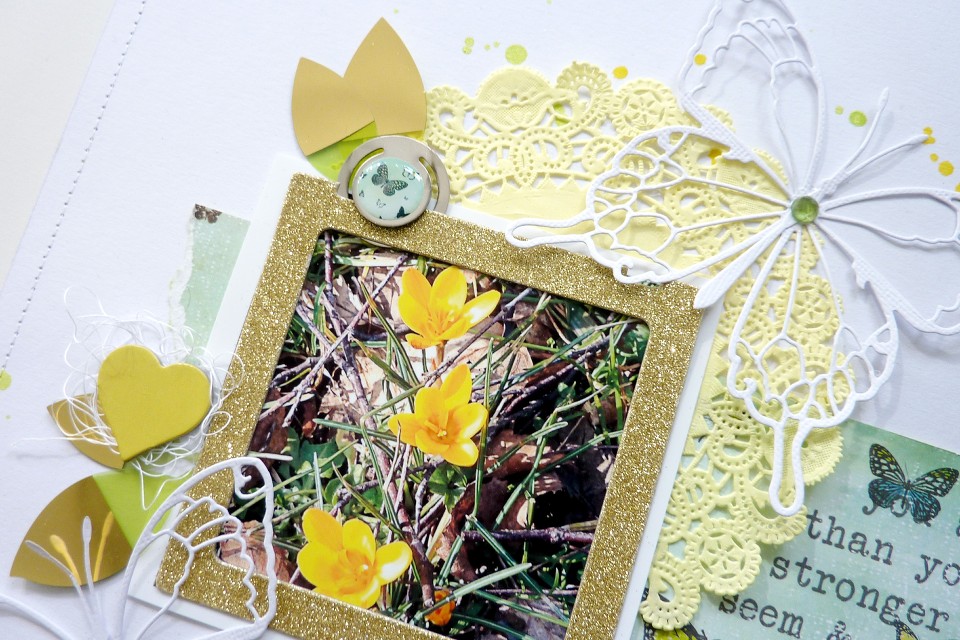
Material/Supplies: Cardstock (American Crafts), Embossing Folder (Sizzix), Stempelkissen/Ink Pads (Studio Calico), Stanzen/Dies (Kesi Art), Patterned Paper (Glitz Design), Sticker (Glitz Design), Rhinestone (Glitz Design), Doilie (Freckled Fawn), Schleife/Bow (Freckled Fawn), Mistable Feathers (Studio Calico), Farbspray/Color Mist (Studio Calico/Heidi Swapp)

Mittwoch, 26. März 2014

*Spring *

11 Kommentare
Ein weiteres Frühlingslayout gibt es heute zu sehen.
Ich habe nicht sehr viel Patterned Paper benutzt sondern statt dessen ein wenig mit Wasserfarben gespielt.

Another Spring themed layout today.
I used small pieces of patterned paper and played with my watercolors.


Material/Supplies: Cardstock (Dani Peuss), Patterned Paper (American Crafts/Basic Grey), Spring-Die Cut (Studio Calico), Die Cuts (Studio Calico), Aquarellfarbe/Watercolors (Peerless), Stanze/Die (Kesi Art), Chipboard (Studio Calico), Flair Button (Studio Calico), Wood Veneer (Studio Calico), Enamel Dots (Studio Calico), Doilie (Freckled Fawn)

Montag, 24. März 2014

* Project Life Woche/week 10 *

4 Kommentare
Heute gibt es eine neue Doppelseite aus meinem Project Life Album zu sehen.
Ich habe diesmal das neue Studio Calico Project Life Kit verwendet und außerdem das zauberhafte Minikit Dear Lizzy Polka Dot Party. Dazu noch ein paar Kleinigkeiten aus meinem Fundus.

Today I have another Project Life spread for you.
This time I used the new Studio Calico Project Life kit and the lovely Dear Lizzy Polka Dot Party minikit.
And I added some embellishments from my stash.


Ich wünsche euch eine schöne Woche. :)

Have a nice week. :)


Material/Supplies: Project Life Kit Office Hours (Studio Calico), Project Life Minikit Dear Lizzy Polka Dot Party (Becky Higins), Puffy Sticker (Freckled Fawn/Studio Calico), Circle Tag (Elle's Studio), Flair Buttons (Studio Calico), Clip (Studio Calico), Alphas (Studio Calico), Chipboard (Studio Calico), Metallkranz/wreath (Freckled Fawn), Cork Sticker (Studio Calico), Pailletten/Sequins (Studio Calico), Stempel/Stamps (Studio Calico)

Donnerstag, 20. März 2014

* Grow *

8 Kommentare
Ich bin gerade richtig in Frühlingslaune.
Die Sonne scheint, es ist warm draußen und ringsherum fängt es langsam an zu blühen.
Also gibt es heute auch hier wieder etwas Frühlingshaftes.Ich bin ganz verliebt in die Lemon Lush Kollektion von Studio Calico. Papiere im Aquarelldesign, Schmetterlinge, Goldakzente - himmlisch.

I'm totally in the mood for spring.
Sun is shining, it's warm outside and there are lots of blossoms everywhere around here.
So I have another spring themed project today.
I'm so in love with the Lemon Lush collection by Studio Calico. Papers in watercolor design, butterflies and gold accents - I'm in heaven.


Material/Supplies: Cardstock (Dani Peuss), Patterned Paper (Studio Calico), Alphas (Studio Calico), Rub On (Studio Calico), Blätter/Leaves (Studio Calico), Rhinestones (Studio Calico), Chipboard (Studio Calico), Clip (Studio Calico), Rahmen/Frame (Crate Paper), Doilie (Freckled Fawn), Stanze/Die (Memory Box), Farbspray/Color Mist (Studio Calico/ Heidi Swapp)

Dienstag, 18. März 2014

* Happy Days * (File Folder Minibook)

4 Kommentare
Zeit für das erste Projekt mit dem Aprilkit von Dani Peuss.
Wunderschöne Papiere und Embellishments von Crate Paper (Maggie Holmes) und My Minds Eye sind diesmal im Kit. Ich habe damit ein File Folder Mini gemacht und es mit einigen Frühlings-Fotos bestückt.
Es hat außerdem eine Tasche und ein Tag für Journaling.

Time to show my first project made with the April kit from Dani Peuss.
There are beautiful papers and embellishments from Crate Paper (Maggie Holmes) and My Minds Eye in the kit. I used them to make a file folder minibook and filled it with some spring themed pictures.
It also has a pocket and a tag for journaling.


Material/Supplies: Cardstock (American Crafts) , Patterned Paper (My Minds Eye/Crate Paper), Sticker (My Minds Eye), Vellum Shapes (Crate Paper), Enamel Dots (My Minds Eye), Rahmen/Frame (Crate Paper), Clip (Crate Paper), Ribbon (American Crafts), Tag (Fancy Pants), Doilie, Nähmaschine/Sewing Machine

Sonntag, 16. März 2014

* Ran an die Restekiste / Use your scraps *

2 Kommentare
Heute geht es der Restekiste an den Kragen.
Ich möchte zeigen, wie man aus kleinen Schnipseln einen schönen Layout-Hintergrund oder Embellishments für Layouts oder Karten  erstellen kann.

Today I want to show you how to use scraps for creating layout backgrounds or embellishments for layouts and cards.

Wir brauchen/we need:


-weißen Cardstock
-Reste von Patterned Paper in passenden Farben und Mustern

-white cardstock
-rests of patterned paper in matching colors and patterns


 Ich reiße das Papier in kleine Stückchen

First I tear the paper in small pieces.


Dann klebe ich die Stückchen auf den Cardstock.Das muss nicht perfekt sein. Es ist ok, wenn der Cardstock dazwischen zu sehen ist.

Then I glue the pieces on the cardstock.That doesn't have to be perfect. It's ok when you can see the cardstock between the pieces.


So bekomme ich nach und nach ein schönes Patchworkmuster.

By adding more and more pieces I get a nice pattern.


Ich könnte den ganzen Cardstock bekleben, aber ich lasse es so und nutze es als Layouthintergrund.
Ich füge ein Foto und diverse Embellishments hinzu...

I could cover the whole cardstock with my scraps but I leave it like this to use it as a layout background.
 I add a picture and some embellishments...


...und fertig ist mein Layout.

...and here comes my layout.


Eine andere Verwendungsmöglichkeit für die Schnipsel ist die Herstellung von Embellishments.
Dazu habe ich einen weiteren Bogen Cardstock beklebt und dann mit einer Stanze Herzen ausgestanzt und mit diesen die Karten verziert.

Another way to use this technique is creating embellishments.
I glued scraps on another piece of cardstock, cut out some hearts with a die and used the hearts to decorate cards.


Man kann auch gut die Negativform verwenden.

You can also use the negative form.


Ich hoffe, euch hat diese kleine Anleitung gefallen und wünsche viel Spaß beim Abarbeiten der Resteberge. :)

Thank you for stopping by and have fun scrapping your scraps. :)


Material/Supplies: Cardstock (Dani Peuss), Patterned Paper (My Minds Eye / Carta Bella), Chipboard (My Minds Eye), Alphas (American Crafts), Banner (Heidi Swapp), Enamel Hearts (Prima), Stanze/Die (Kesi Art), Stempel/ Stamps (Studio Calico/Fancy Pants), Vellum (American Crafts), Pailletten/Sequins (Studio Calico), Doilie , Nähmaschine/Sewing Machine